
 I made the above pendant using thin slices from the mokume gane technique I detail in this tutorial, using copper leaf sheets, alcohol inks, translucent clay, wavy blade and straight blade (I didn’t use the rubber stamp pictured in this project), acrylic roller, pasta machine, ceramic tile and a toaster oven or conventional oven.
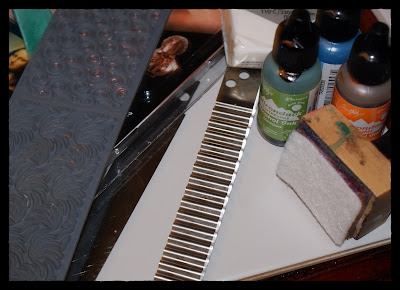

 I used copper leaf sheet from Michael’s and patted it down on each rectangle. It will stick to raw clay, so no adhesive is needed.
  Clean up (and save) the excess foil leaf bits.
 Carefully slide the blade under each rectangle to flip them over.
 Use your alcohol inks and randomly dab them with felt applicator on the now upside of the clay rectangles.
 Stack the rectangles, then cut the stack in half.
 Stack these two halves.
 Thin by hand or with acrylic roller to stretch out the stack, being careful not to tear if doing by hand.
 Cut into quarters, then stack again.
 Thin stack using roller or by hand.
 The foil begins to crackle as the stack is thinned.
 Cut stack into quarters again and restack

 Distress the stack using any texturizing method you want. I cut through randomly with a wavy blade. You could use a credit card and make a grid, or use a rubber stamp…
 squeeze sides to smoosh the distressed stack into a tall cube.
 Shave off thin slices and apply to beads, tins, whatever object you want so long as it can be baked at 275 degrees! Raw clay (unbaked) adheres to raw clay, so roll a round ball and apply thin cane slices to make a bead. Roll in hand after applying slices to smooth surface. When applying to already cured clay, or to metal/glass, you will need to use polymer clay glue (I use Lisa Pavelka poly clay glue). There is also a bake-able adhesive by sculpey.

