Archives for August 2010

Garage Sale Bookshelf Makeover; Frugal, Flowery, Fabulous


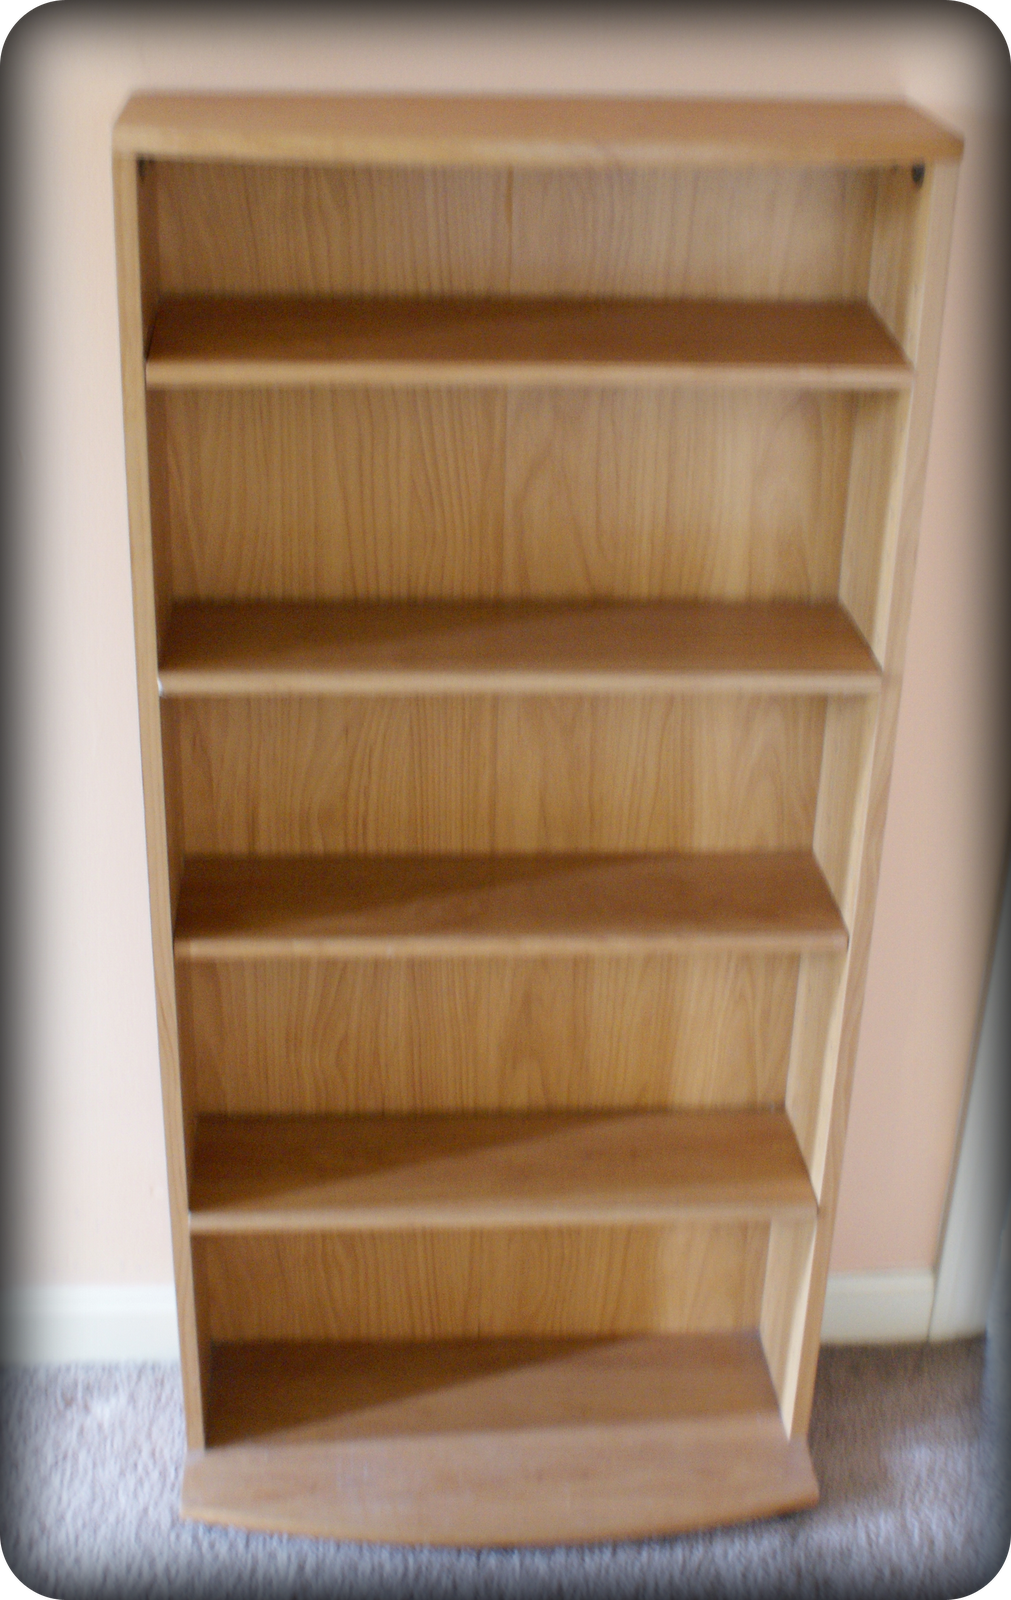
I found this bookshelf for $5 at a garage sale (the same day I won a radio contest, and a blog giveaway… should have bought a lottery ticket). I think it is actually a media CD/DVD shelf, and it is the perfect size for this narrow hallway wall. I didn’t have a plan, but I knew beauty was in the near future for this five dollar find.

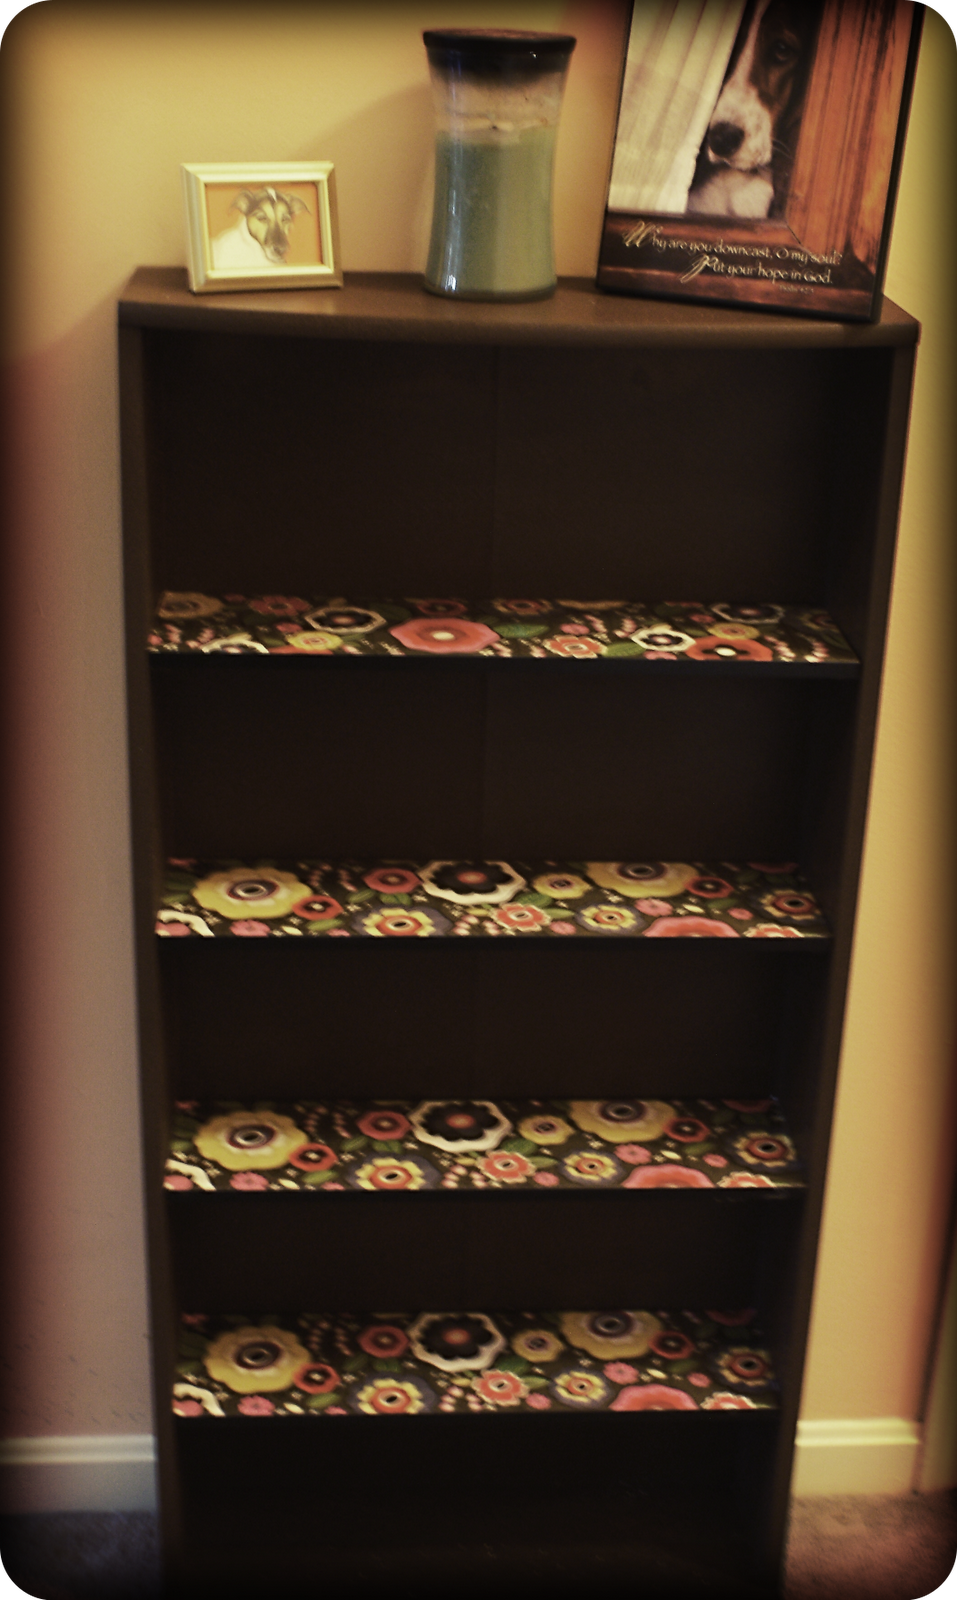
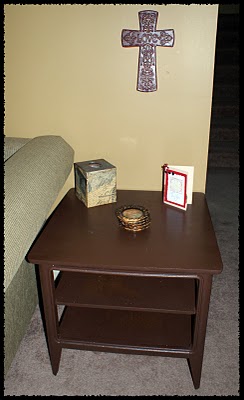
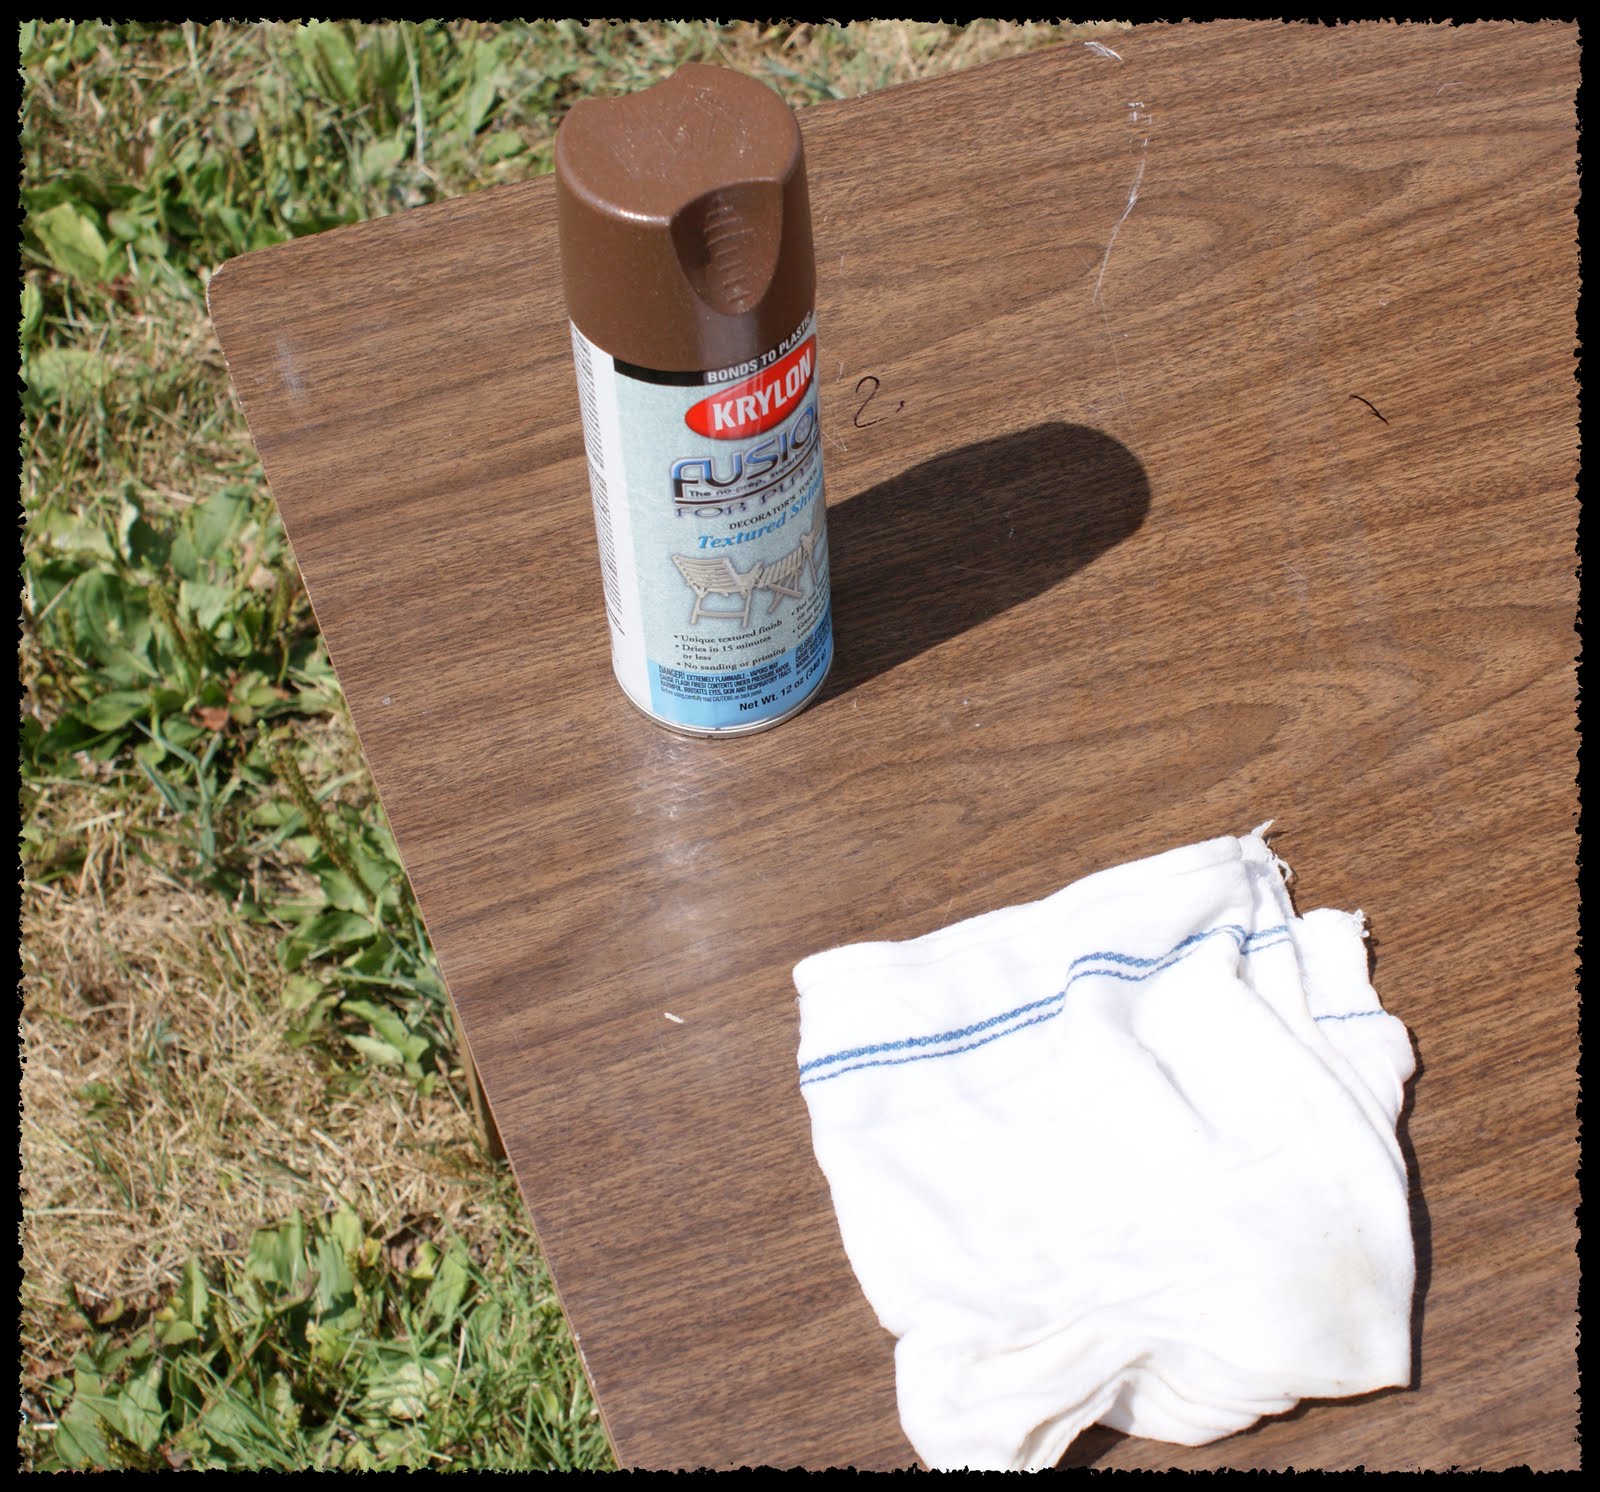
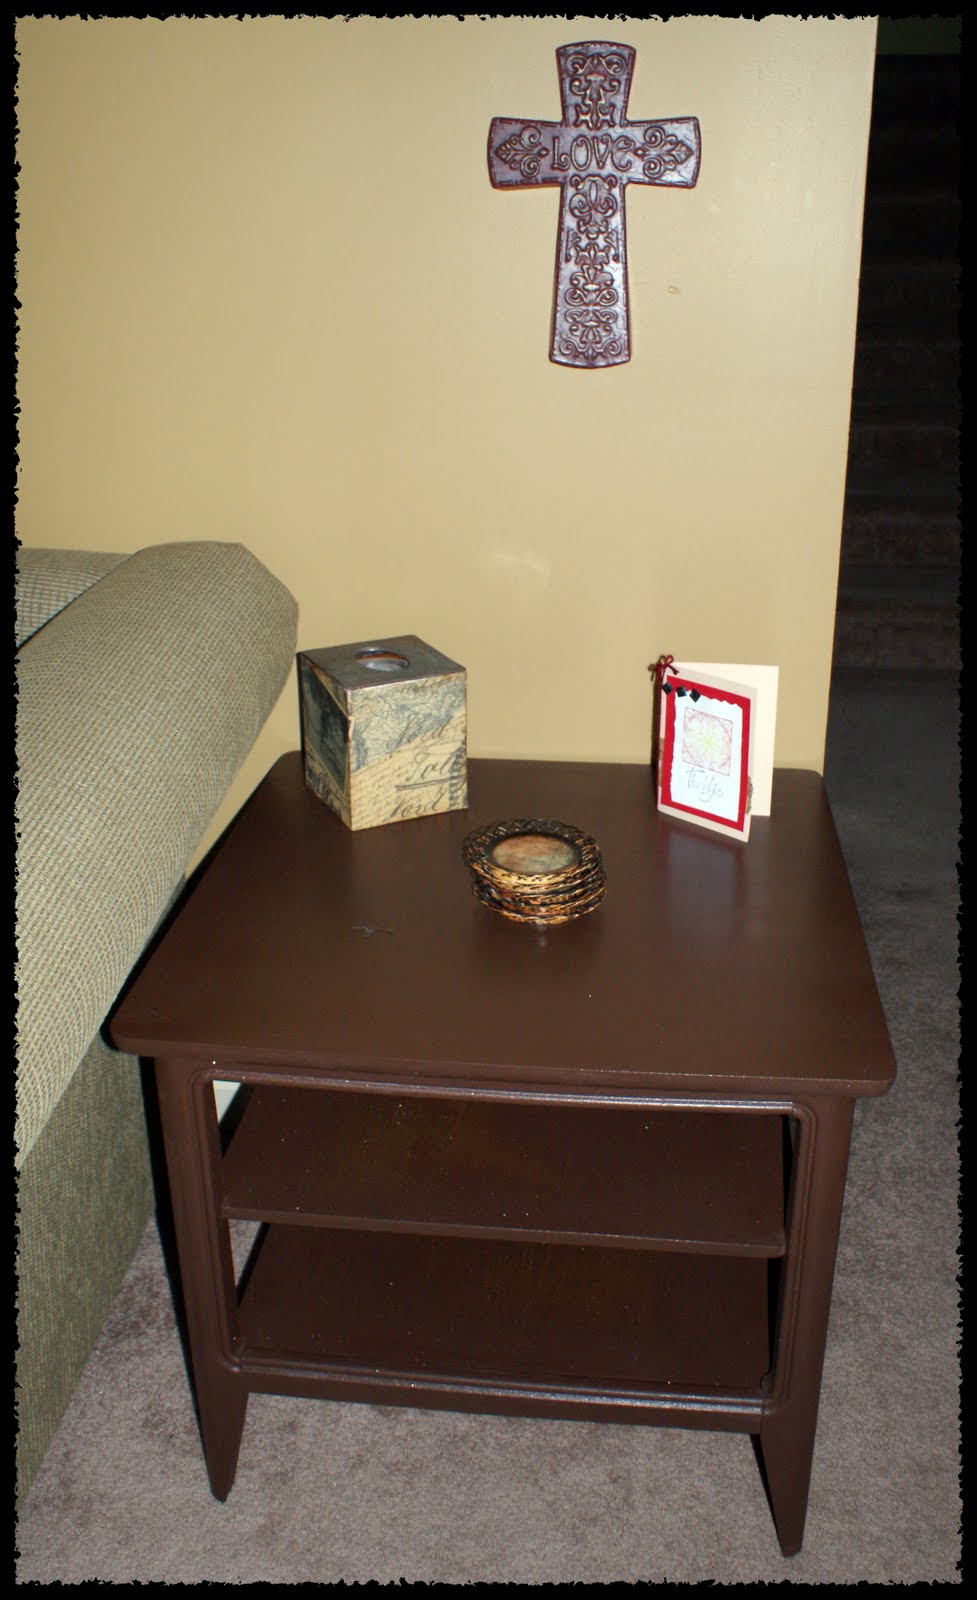
I cleaned it with soap and water, then spray painted with Krylon Fusion Cocoa Brown Shimmer textured paint. Since I used Fusion, I didn’t have to sand or prime. Sweet. I chose this color so it would coordinate with this side table I posted previously.
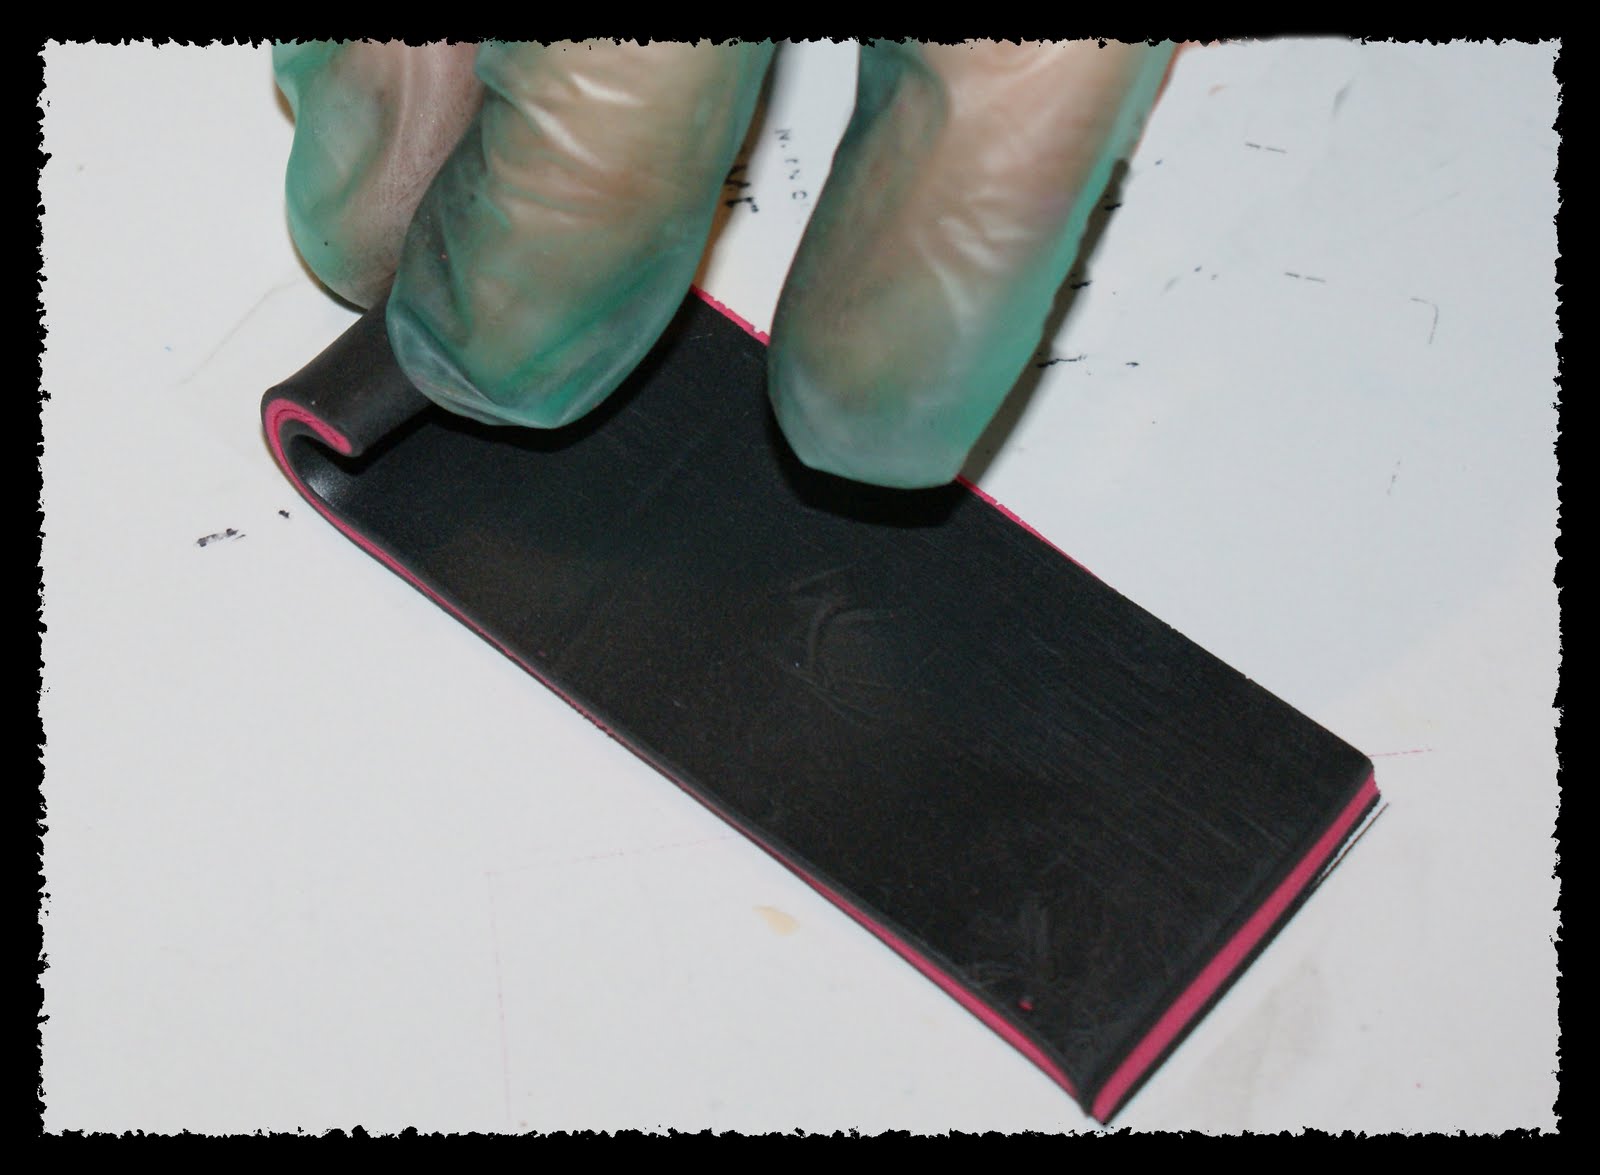
I removed the shelves, cut scrapbook paper to size and adhered it to the shelves using matte gel medium, smoothing out the air bubbles with a brayer. To finish, I applied polycrylic to the shelves to seal the paper and waterproof. That is it. Simple, cute, under $10 and 1 hour of my time. Score. Spray paint and scrapbook paper have changed the way I decorate vastly!
Tuesday Blog Hops…

Tuesday Tag-Along
To-the-TOP Tuesday

Polymer Clay Day 79: Strength Charm Retro Cross Pendant

It is Sunday, my favorite day. I am struck with the strength that comes from fellowship with others who have overcome difficulties and temptations. I use to think (when I was athiest – a whole other story altogether) that Christians were just good, so they obviously didn’t know what it was like to have urges and desires to struggle against. I was way off. Here I was feeling sorry for myself, when I was actually the one who didn’t understand the extent of temptation. I always just gave in to it, so I never got experience what it was like to stand firm, therefore I had no concept of its power. Now that I am trying to be a conduit for Christ’s life through me, I realize how big the giants are, and that I desperately need a savior. Any strength I manage to muster is from Him. So that is what inspired this piece. Blessings…
Monday blog hops…

My $6 Kitchen Table and Chairs; Spray painted furniture from Odd to Mod

We needed a dinette set for our new place, since the dining room in our last place doubled as my craft space and now that table is fully dedicated to clay, paint, stamping… messiness! I kept my eyes peeled for a couple of weeks while we were busy painting the various rooms. I wound up with 4 chairs for $0.25 each, and a $5 table. Yep, that would be $6. Total. For a table and chairs. Here is the finished project. Unfortunately, my camera was dead when I got to work on the table, so no before pics of it. I have pics of the chair and a full tutorial…


I washed the chairs with soap and water. They were pretty icky.
I made sure they were dry and free of dust and other debris.
Next, I primed the legs with rustoleum primer for metal, and for the bucket seats, I used valspar primer in a gallon can that I found in my garage (painted on with a 1 inch paint brush).

I let the primer dry as per can instructions, and sprayed the legs with Krylon brushed metallic nickle spray paint. I love this paint. It is so easy to use, my fingers don’t get those blisters from spraying, coverage is awesome, short dry time. They aren’t paying me to say that. Not that I would object if they wanted too, I am just saying.
It was at this point that my genius husband realized that freeing 4 screws from each chair is all it would take for the legs and seat to be separated (after I had taped off two of the leg sets in preparation to primer the seats; ok, not to smart, but you can bet I won’t make that mistake again. The first thing I did with the table is take the legs of since I knew I wanted them a different color than the top; See, I learn)! This project became much simpler after the legs and bucket seat were no longer attached.
I sprayed the chairs front and back with Ocean Breeze Krylon Outdoor after the primer dried.
Next I painted them with a mix of blues and yellows from my acrylic paint selection that I made to a green of my liking, using a 1 inch paint brush. I painted just the front, leaving the backs blue for a two tone effect. I took sand paper to the edges once the green dried, to reveal the blue underneath, giving a distressed effect. Once that was all dry, I applied minwax polycrylic for shine and protection. I did 2 coats of polycrylic, allowing dry time between each.


I am loving the look. I found the place mats at Wal-Mart and couldn’t resist because they matched so perfectly. They almost cost as much as the table and chairs together. Ha. The vase comes from the most awesome yard sale I have ever had the privilege of attending. You will be seeing more projects from that treasure hunt!

What have you done with thrifty furniture? I would love for you to share your ideas, questions, or comments!
We broke in the new kitchen get up with a wonderful homemade lasagna shared between my husband, step daughter Jenni, and her dorm roommate and best friend Abbey. Making memories frugal style!

Polymer Clay Day 78: Turquoise n’ Cream AA Circle Triangle Love Pendant


Another tile cane pendant. Amazingly simple. Check out the tutorial I posted on this technique by clicking the Tutorials tab above. A note on colors; polymer clays come in beautiful colors and can be used right out of the package with great effect. However, you will find yourself with a lot of scrap clay from your projects, which you can mix together to create gorgeous tones and hues. I like to mix my own colors, as they tend to be softer than the colors straight out of the package. I just roll in the palm of my hands, a ball or two of each color I want to mix and knead them together. When mixing a color with white for a lighter version of that hue, a little color goes a long way. Start out with less than you think, you can always add more.

Here are the Friday blog hops I am linking…

badge

Let's Just Give It Away

Polymer Clay Day 77: Hot Pink n’ Black AA Circle Triangle Love Pendant


This is one of the pieces I made using the cane in this tutorial. Fun and easy. Off to put some new things in my Etsy and Artfire stores. If you are visiting for the first time, leave me a comment so I can get to know you! Comments make me glow.

Thursday blog hops…
Obviously MARvelous
Bassgiraffe's Thoughts Thursday Blog Hop

Polymer Clay Day 76: Retro Funky Cross


If you knew how easy this project was, you would be conditioning clay right now. I have said this before, but in case you missed it – Polymer clay is a wonderful medium for several reasons. Being a frugal fanatic, one of my favorite reasons being its low cost. It doesn’t take a big investment to get started. Another plus is that it is a very forgiving medium. I often make mistakes which are easily remedied by adding texture, or covering with another thin sheet of clay. There is a ton of information online, free tutorials, etc. Some resources that helped me get going… Polymer Clay Central, Diane’s Glass attic, PC Polyzine. That will keep you busy for awhile. Next week look out for my tutorial on this funky square cane.

Wednesday blog hops…


Spray Paint Table Tutorial

GoodwillEndTable4This table was just waiting at Goodwill for me to find it. It was $5.99 and it happened to have a blue tag… AND the 50% off color was BLUE!!

I loved the shape and the shelves, and knew all it need was some scrubbing and spray paint.

I washed the table down with a soapy rag, and wiped it dry with a towel. I didn’t have to sand, or prime (YIPPIE) because I found a can of Krylon Fusion spray paint in just the color I wanted, amongst my supplies. Cocoa Brown Textured Shimmer… this stuff is great. It bonds to plastic takes minimal prep and dries super fast.

You can’t see the shimmer quality to well in this overexposed picture, but it is beautiful. I love frugal makeovers like this. Take some spray paint to that old piece of furniture that needs a bit of love! About the card on the table… stay tuned for a tutorial on handmade cards using a watercolor stamping technique!

Polymer Clay Day 75: Tile Cane Tutorial and Cross Pendant

I made the above cross using a cane I made from a simple jelly roll, cut and pieced together to form a complex design. Tutorial follows…

*You will need two contrasting colors of clay. I used a pink that I made from combining the light and red clays pictured, and black I had left over from an earlier project. You will also need a pasta machine, acrylic roller or brayer and a tissue blade.

*Condition your two clay colors in your pasta machine on setting 2 (second thickest), and lie flat in rectangle shape.
*Place one color on top of the other and cut the excess edges to make a rectangle.
*Run the rectangle through the pasta machine on the same setting (2), and you will be left with a long rectangle of the two colors stacked. Fold in half lengthwise (doesn’t matter which color is on top).
*Press down the folded edge to get rid of any air bubbles.
*Cut the other edge at a 45 degree angle (this will help blend the edge into the roll).
*Roll, starting with the folded edge, pressing as you go along to get rid of any spaces.

*Reduce the jelly roll by rolling and pressing evenly to increase the length and trim off the distorted ends to reveal the clean swirl.

*Measure the length of your roll, and cut off one quarter and set aside…
*Stand the other 3/4 upright and cut in half, then in quarters…

*Reduce the set aside piece from earlier to the same length as the quarter pieces, or until the diameter of the log is about the same as the radius of each quarter. Press the four quarters around the log as pictured…
*Roll each side of the now cube with the brayer to fill spaces and even out the cube.
*Now cut the cube in half and place each half side by side.
*Then cut this in half and place one half on top of the other. Smooth with brayer and Viola! You have your cane. If you are like me when I made my first cane, you are thinking “Great, now what do I do with it.” Read on, my friend…
*Take very thin slices and place on conditioned scrap clay rolled into a sheet. Lie them next to one another as close as possible without overlapping, and roll smooth with roller or brayer. Then cut out whatever shape you want, or you could place the thin sheets on clay spheres to make beads. I cut out a cross in this example.

*** TIP: When you are slicing pieces from your cane, you want to slice straight down. The best way to keep your blade straight is to stand over your work area and look down at the top while you are slicing. This makes it easier to be sure you are keeping the blade perpendicular.

Tuesday Blog Hops…


Tuesday Tag-Along

Polymer Clay Day 74: Love Kaleidoscope Pendant


It is Sunday, my favorite day. To me, God isn’t just at church on Sunday, but it is so engrained in me that Sunday = time with God. I love going and worshiping through song with fellow believers. Today, the sermon was extremely academic. I’m not real sure what was going on, but the music was awesome. I posted this on facebook, so if you have already seen it… oh, just watch it again. It rocks.

Polymer Clay Day 73: Retro Square Cane Heart Pendant


This project was super easy. I have tried to get this look a couple of other ways that were not only more complicated, but didn’t come out as nice as this one. I love the retro square print. I got the project from Donna Kato’s millefiori cane book:

This book has a lot of good information, especially on cane work. It could have better step by step pics in my opinion, but still quite useful. You can get it on Amazon for $12 used!
Happy claying…

Privacy Policy