
 I envisioned my blog post for today being a tutorial detailing an awesome chair makeover. Now, 7 hours, a blistered right index finger from spray painting, a sore back and a whopping primer resentment later, I am instead hosting a giveaway. I am sure when I do finish my aforementioned chair project, this day’s blunders will be amusing, but at the moment, not so much 🙂
Here are the rules:
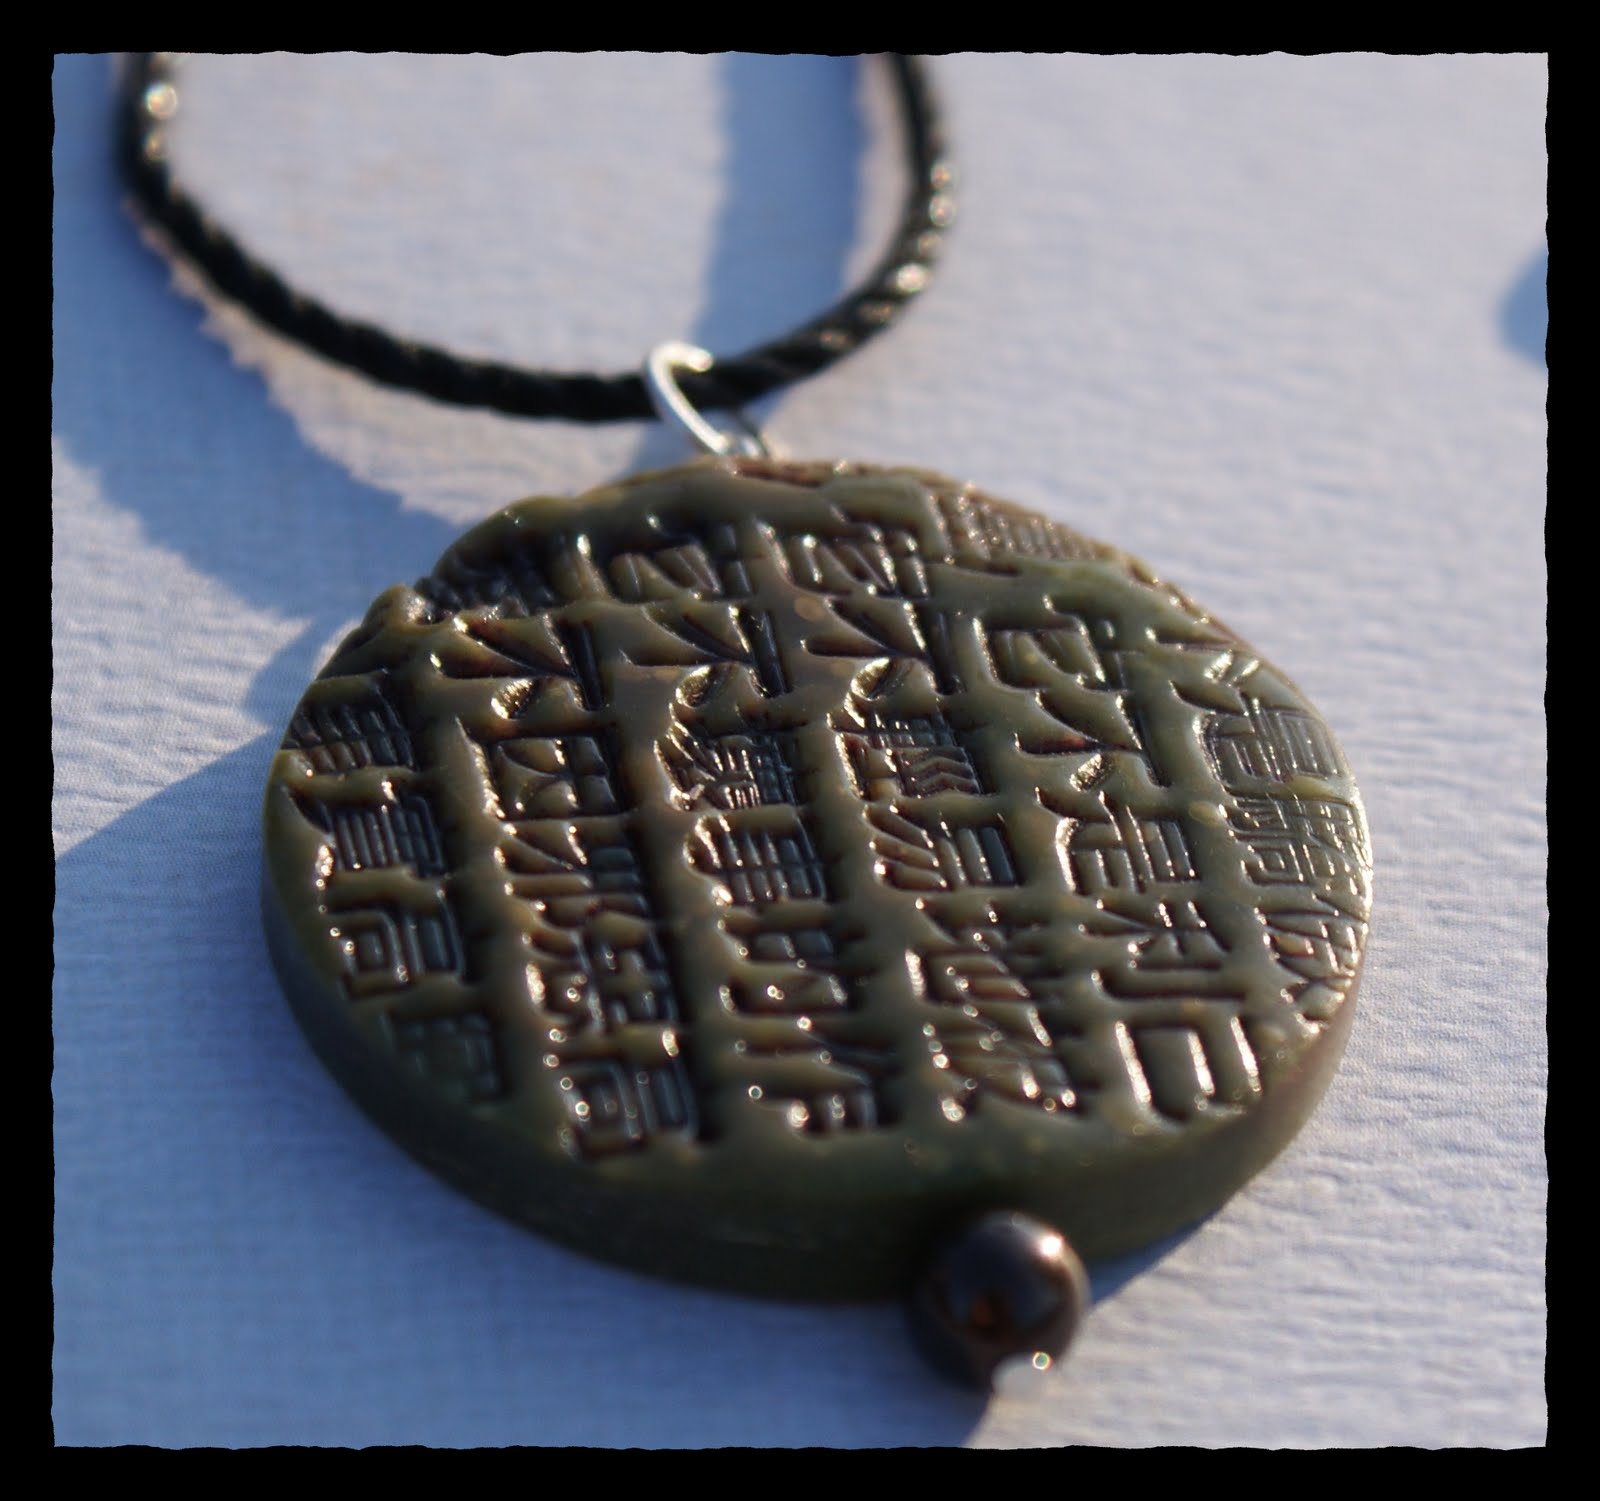
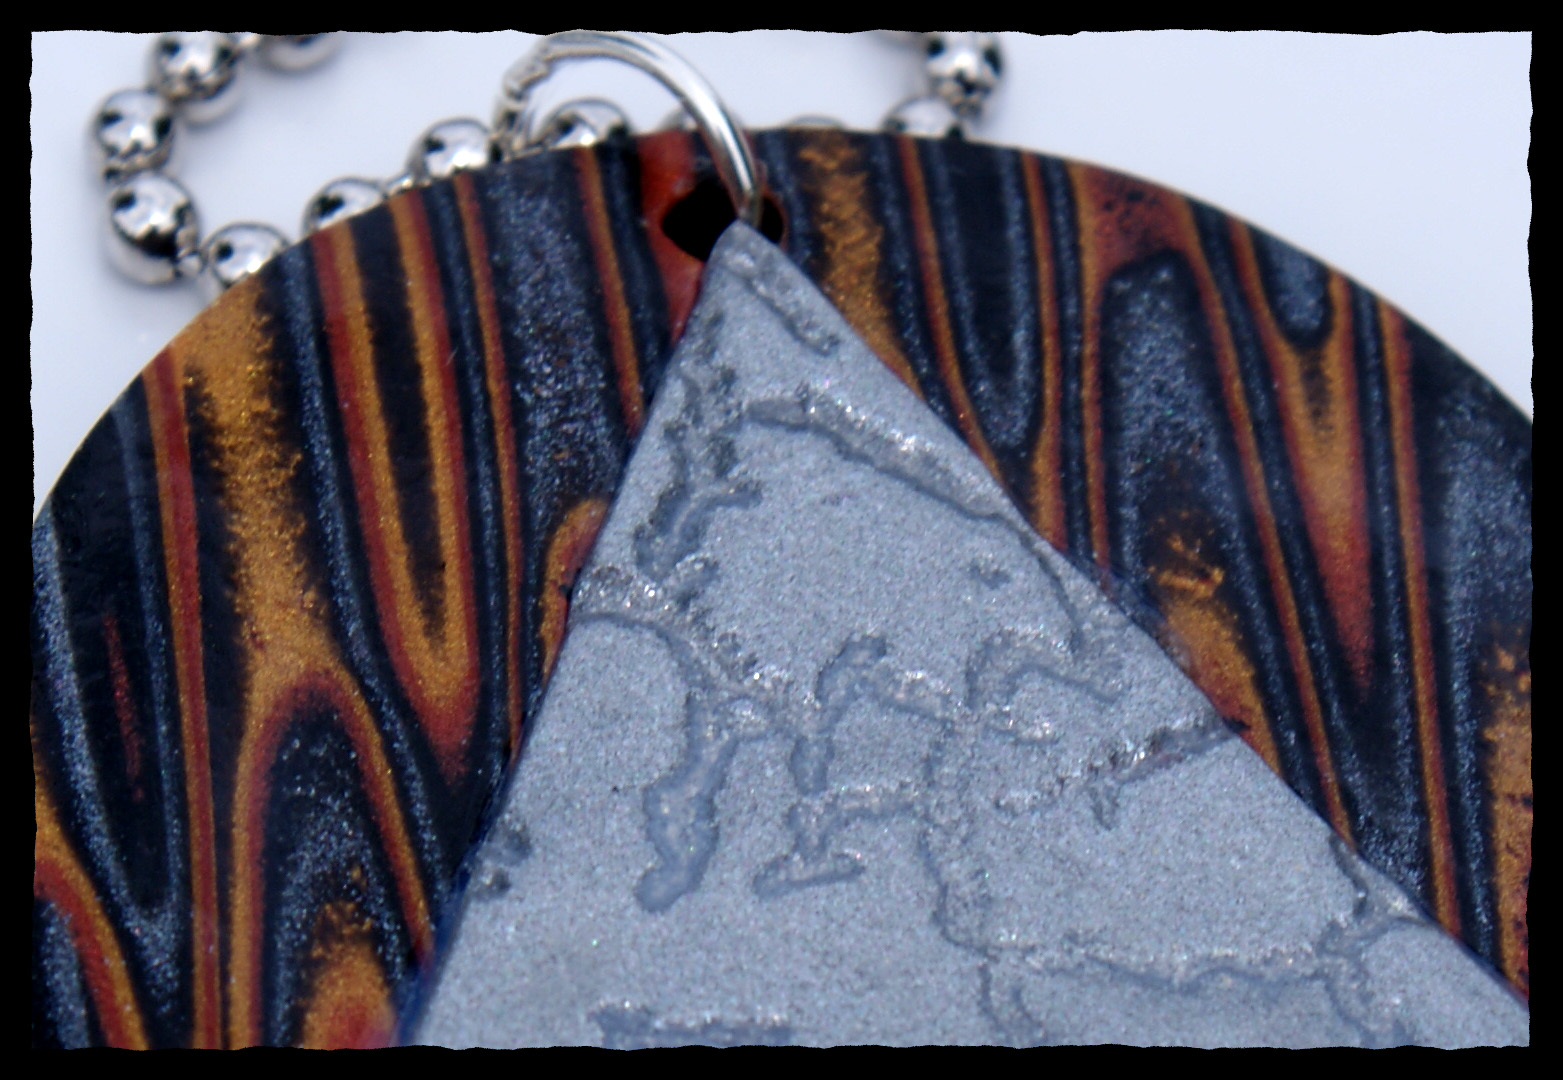
1. Leave a comment after this post, stating which polymer clay pendant you want to win. That will count as an entry. You can another entry for each of the following you do; tweet, facebook, or blog about this giveaway, and make sure you leave a comment linking to your post so that you get entered again for it.
2. You must be a follower of my blog to win.
3. Giveaway starts now 7/30/10 and ends 8/6/10.
4. Randomly chosen winner will be announced 8/7/10, at whatever time I get back from my morning run 🙂
Good luck. Thank you for visiting my crafty digs! Blessings…


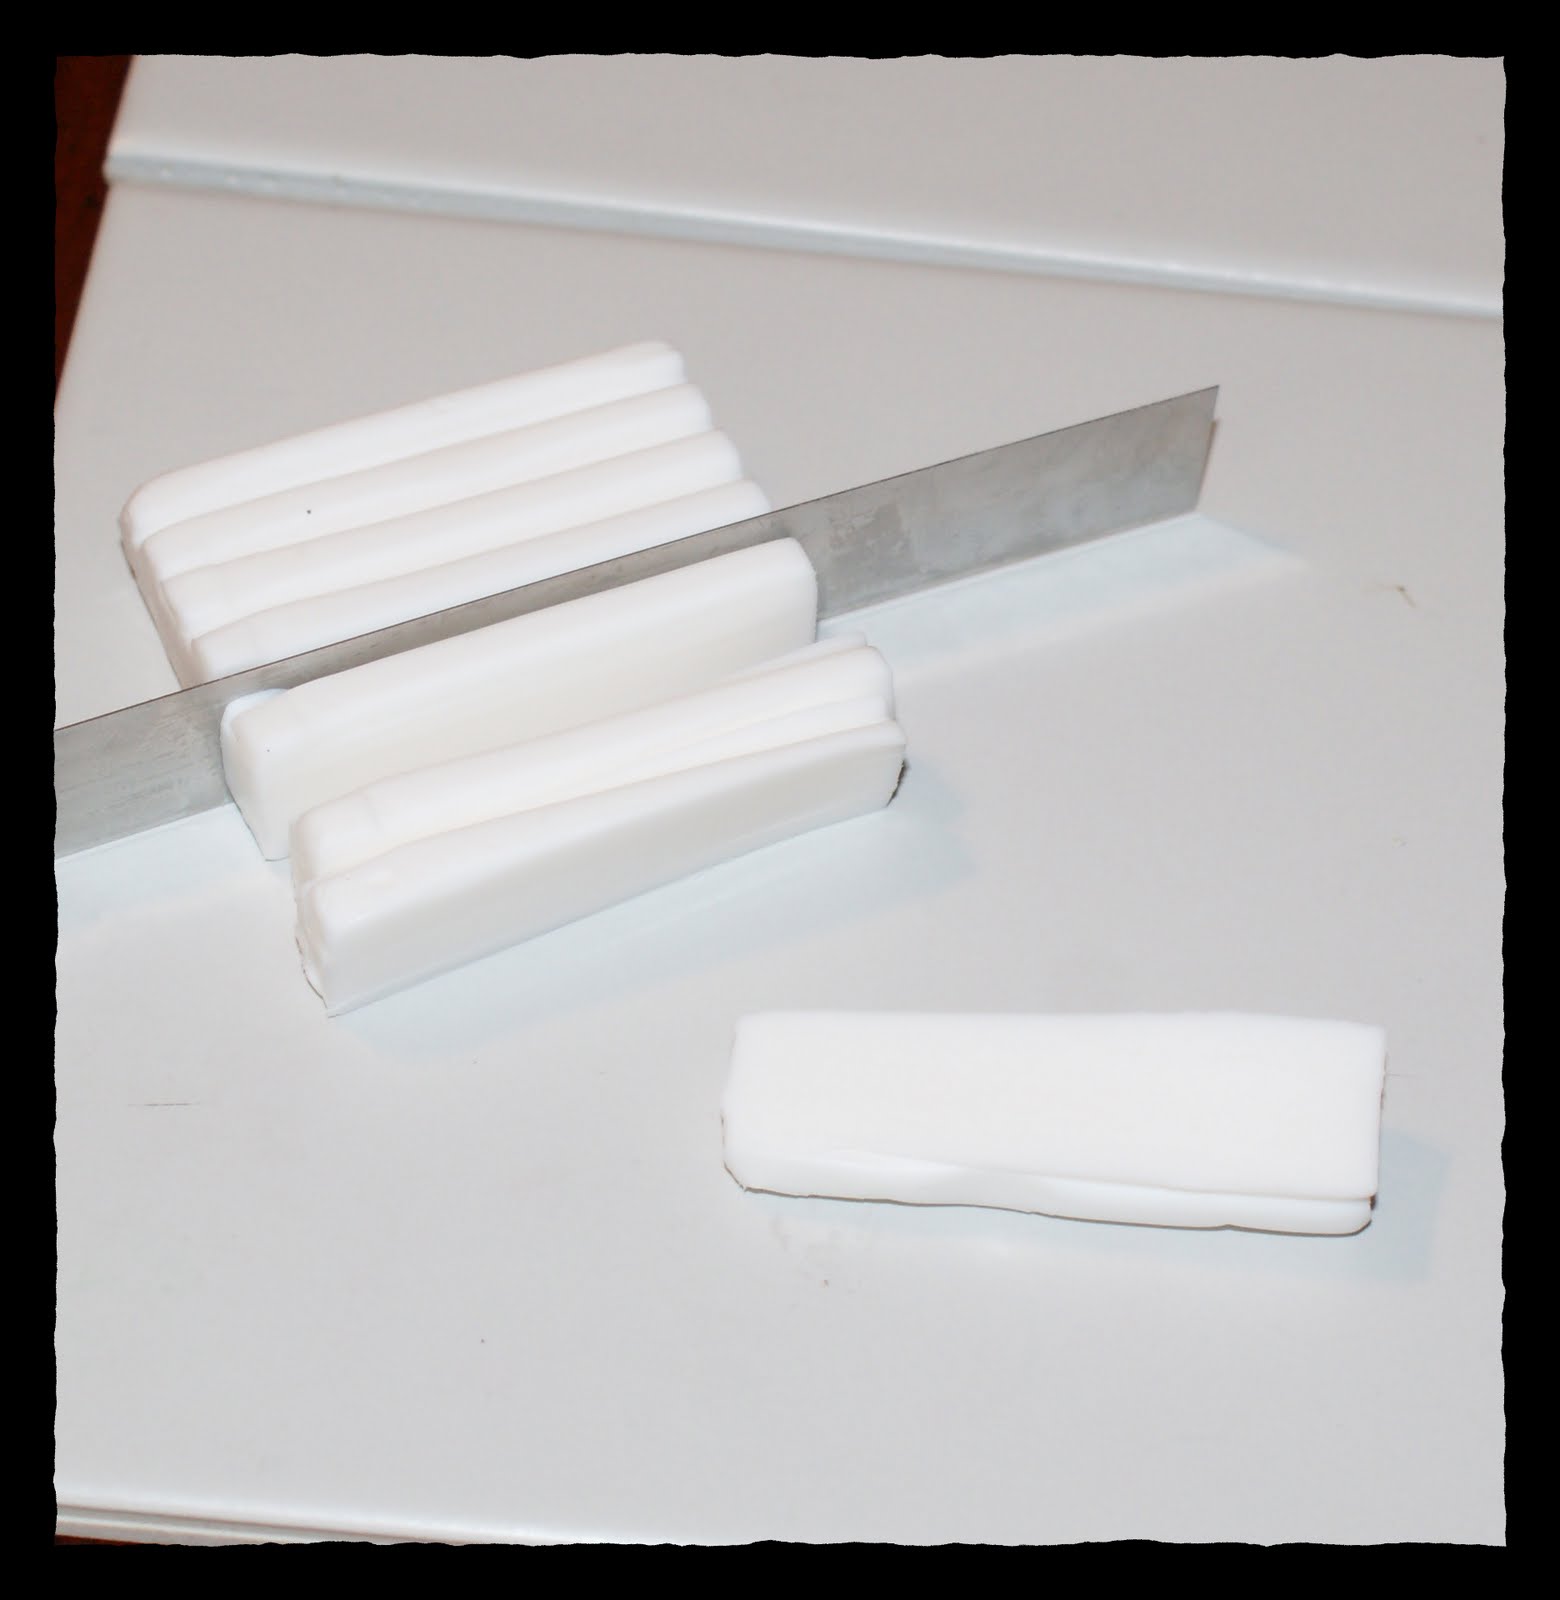


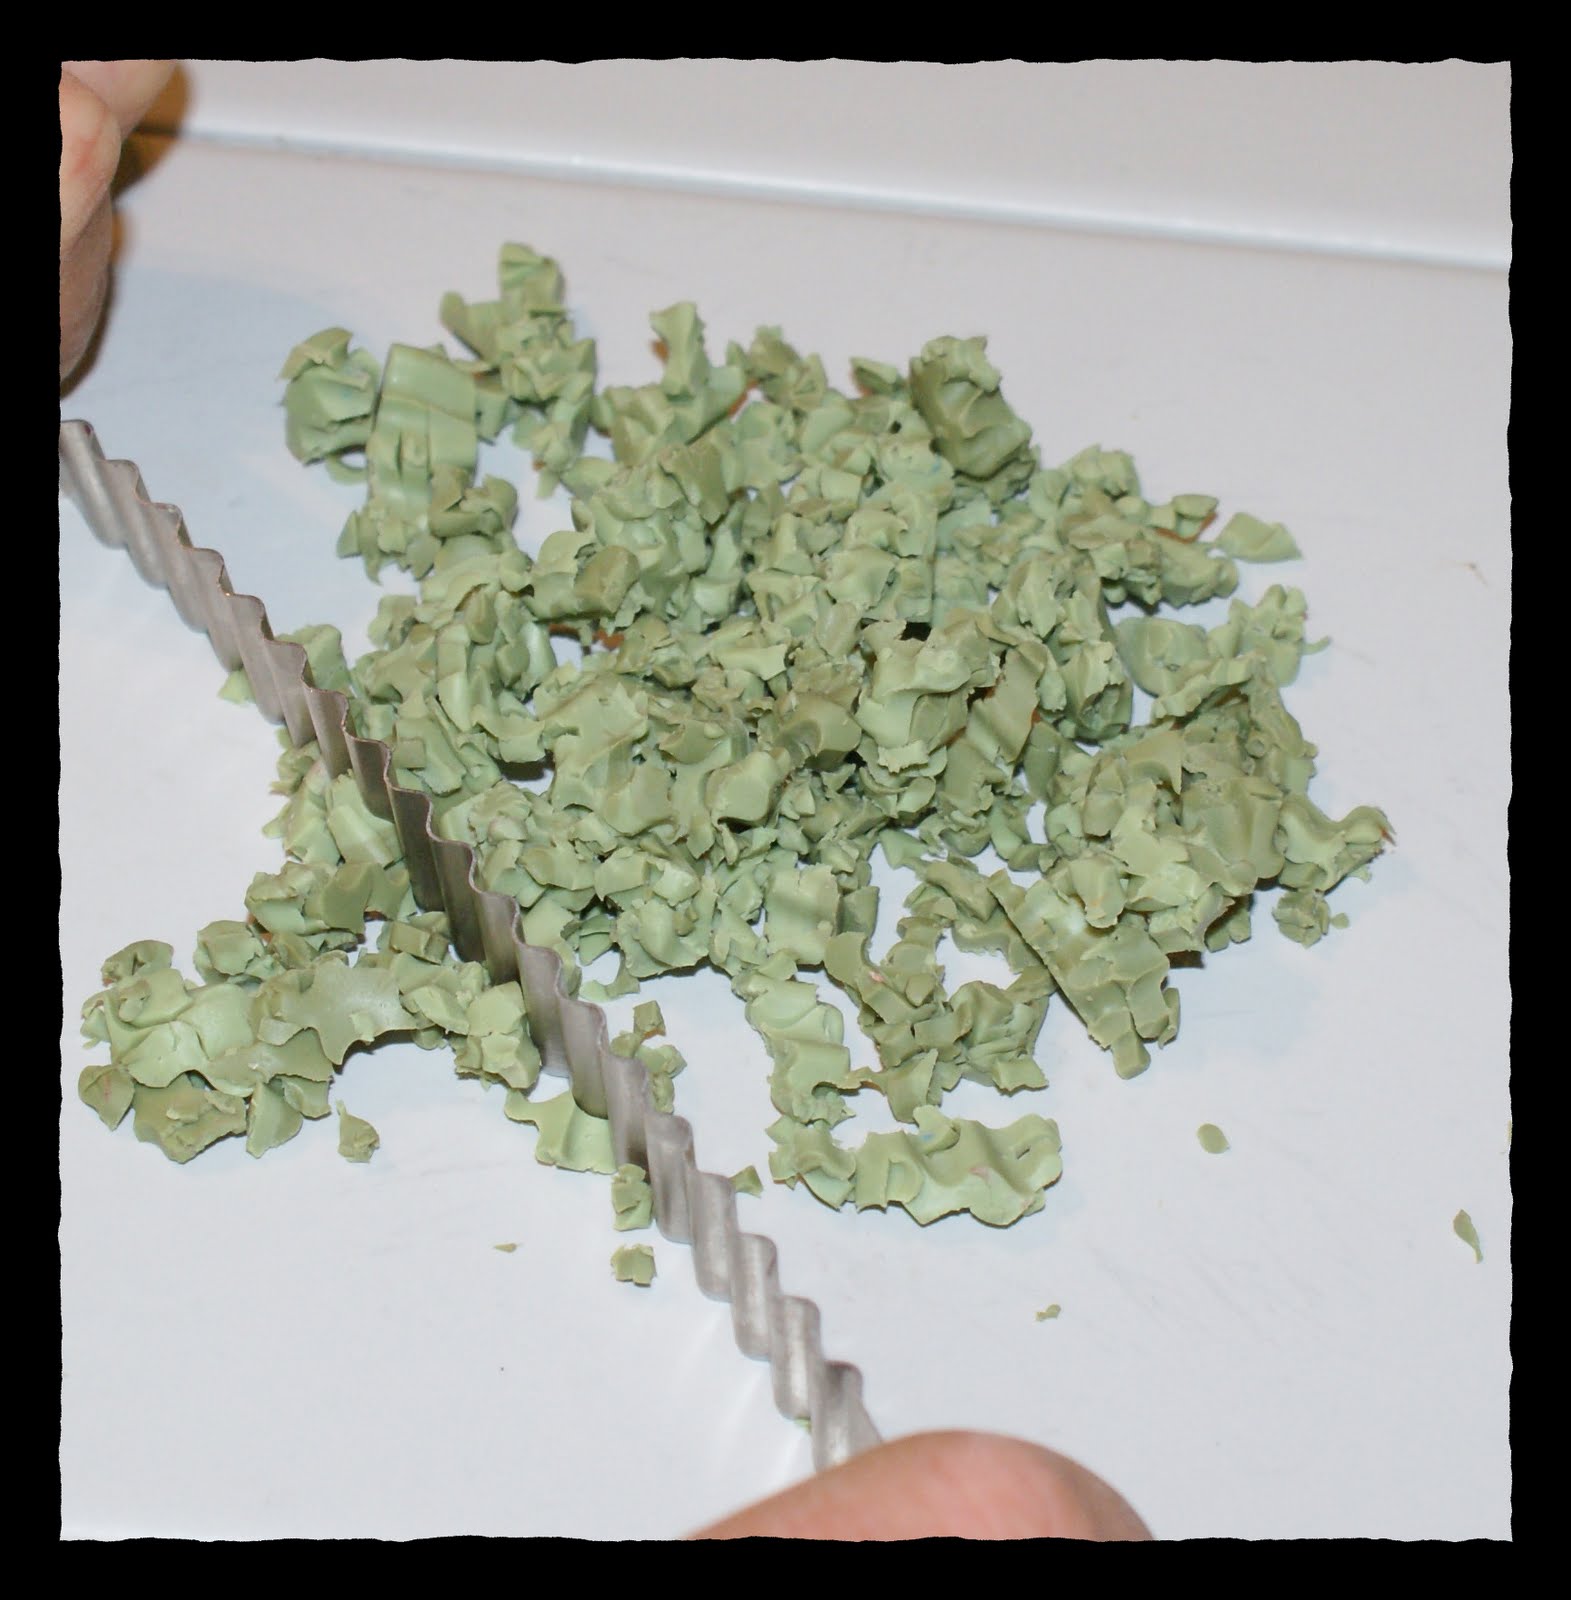


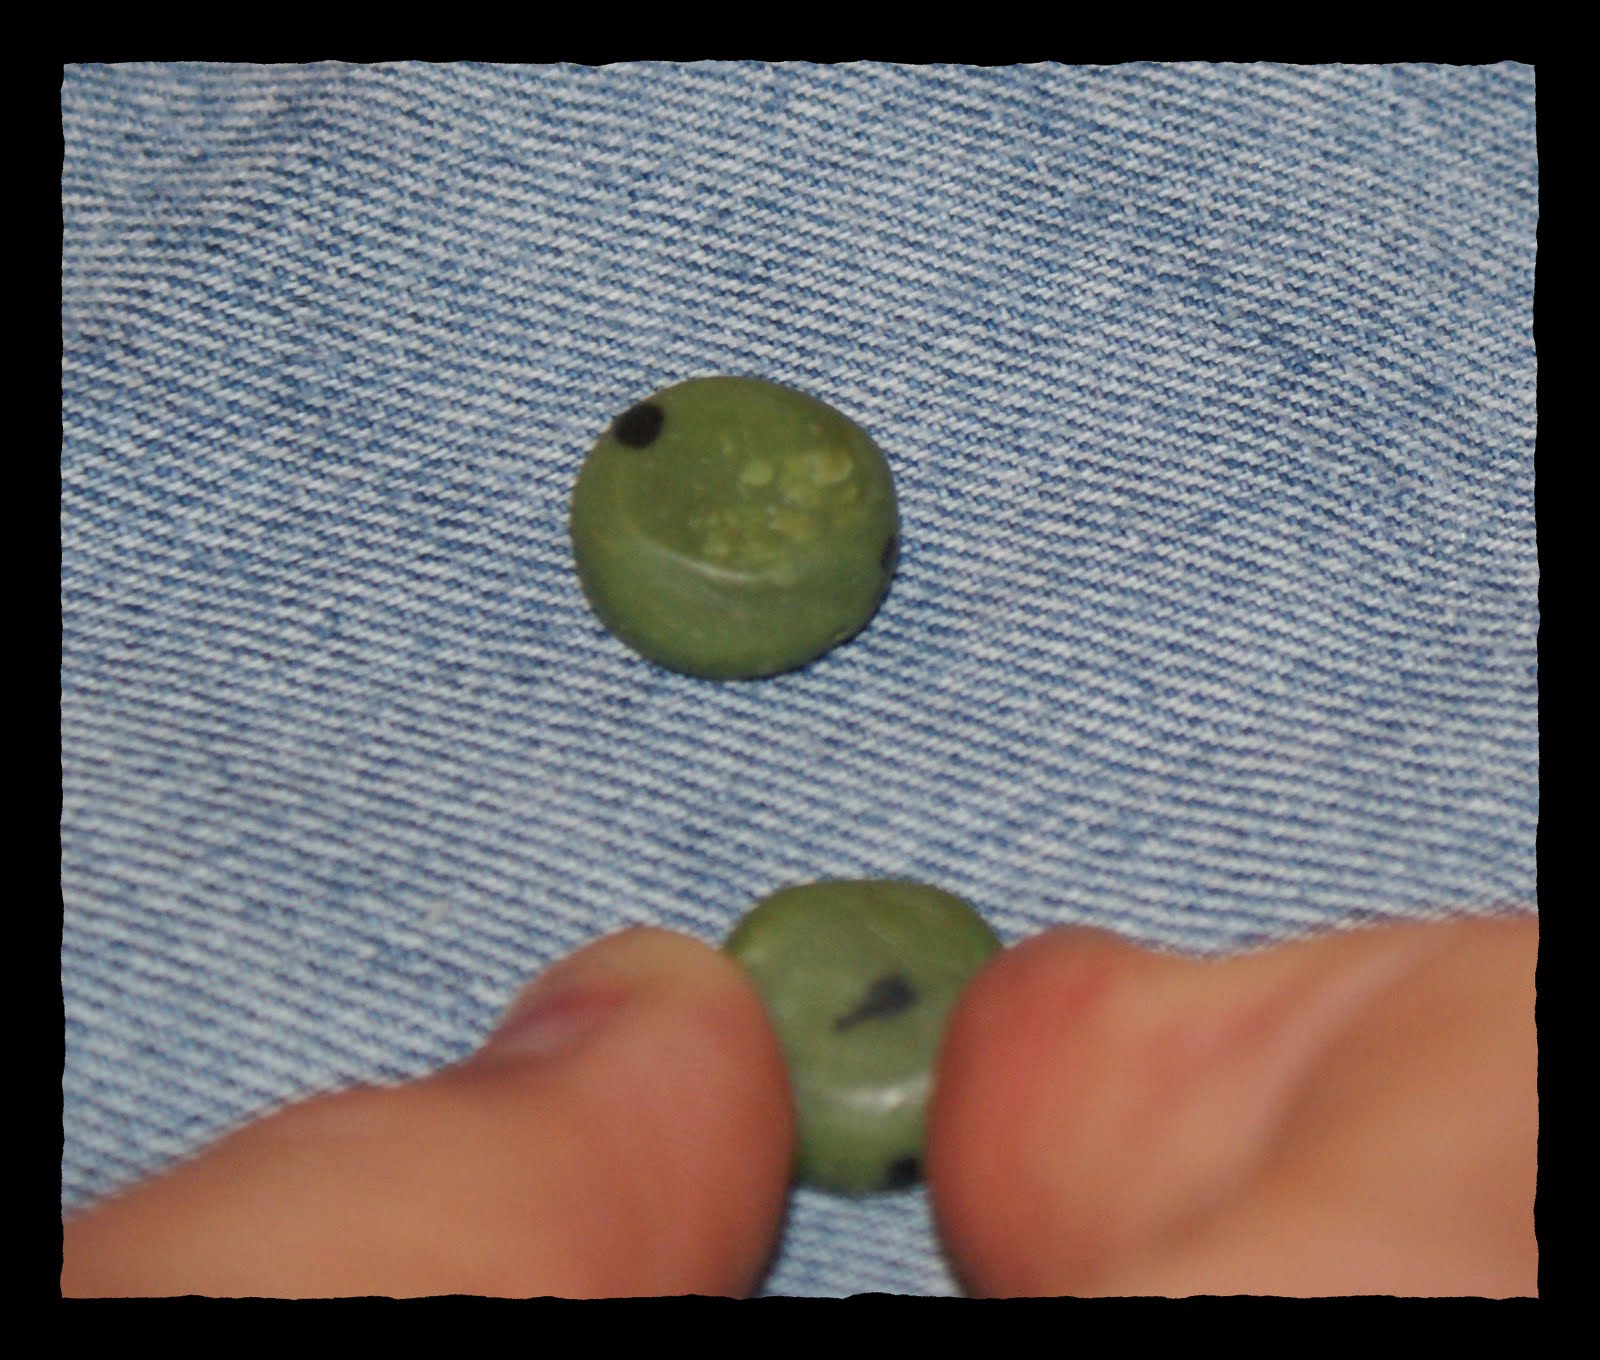


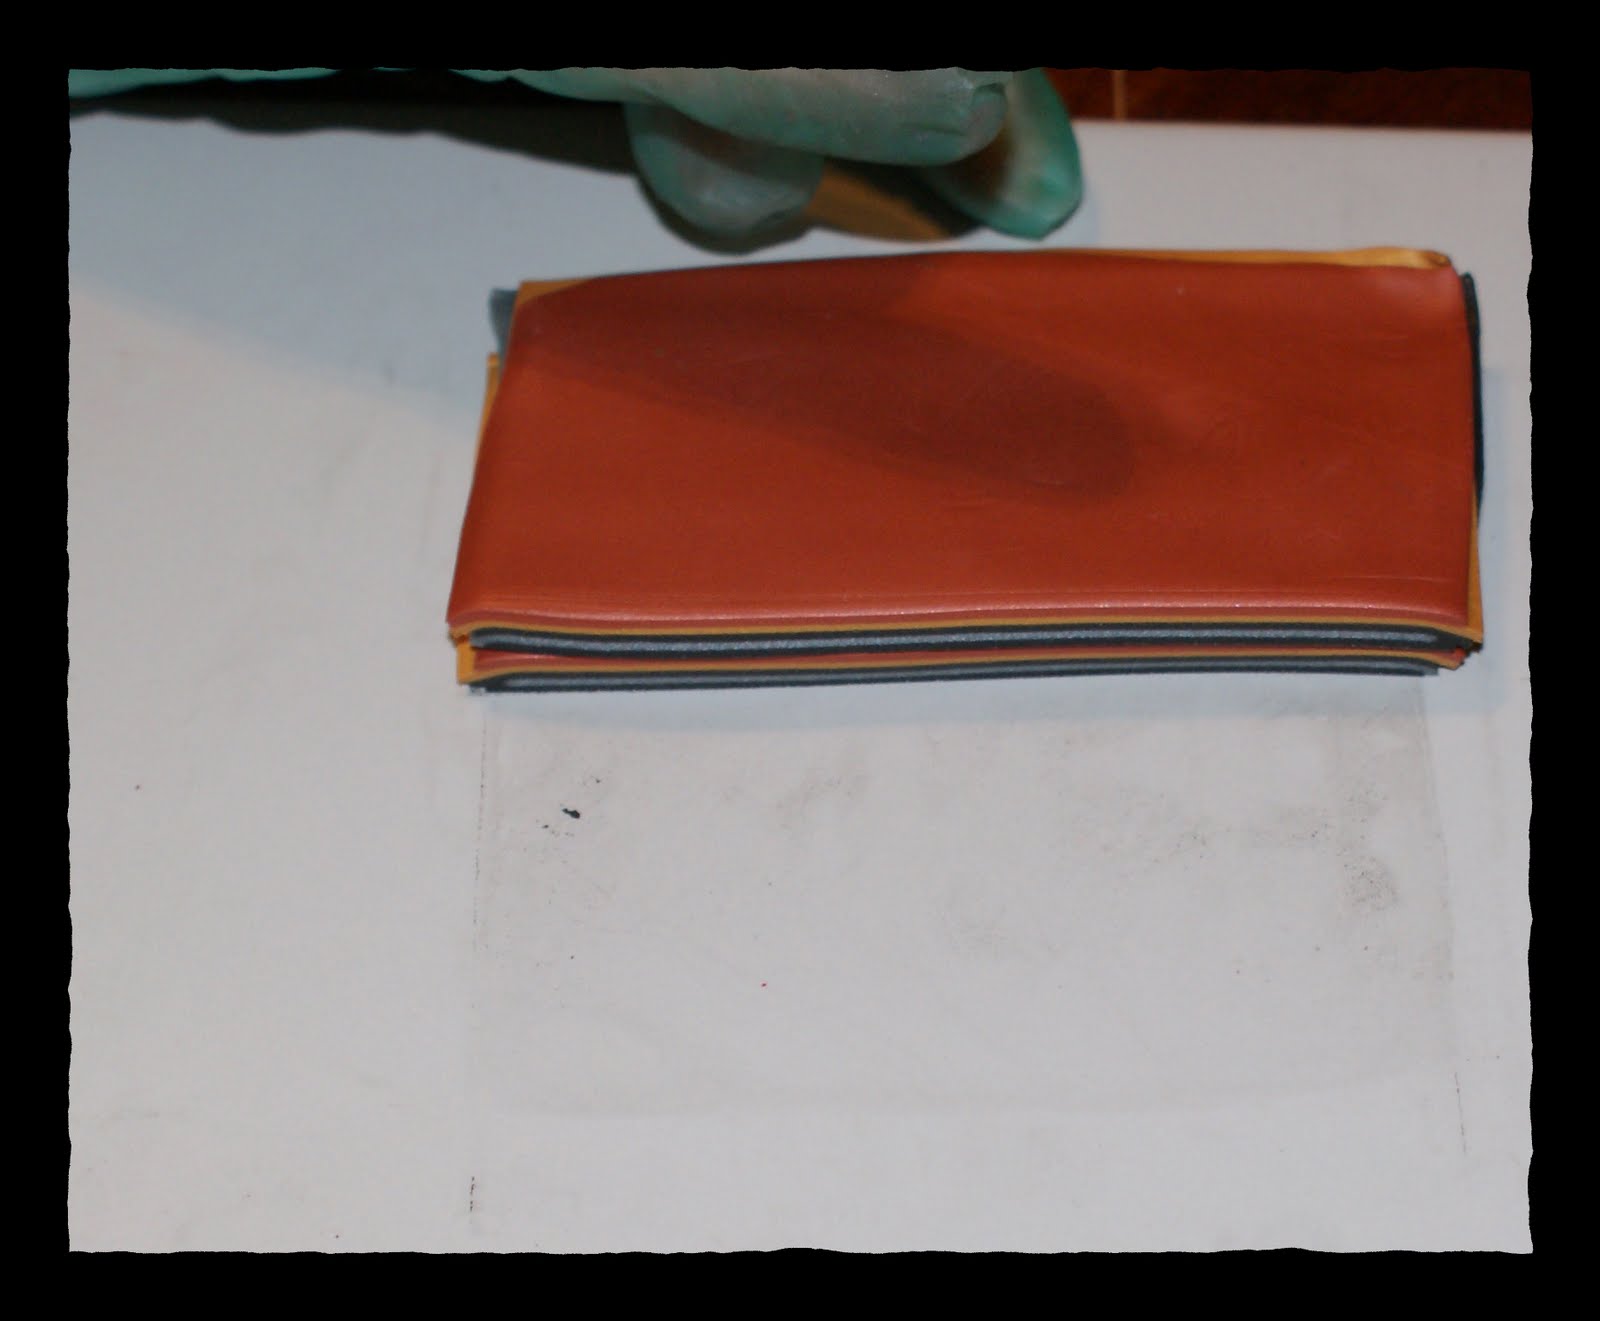
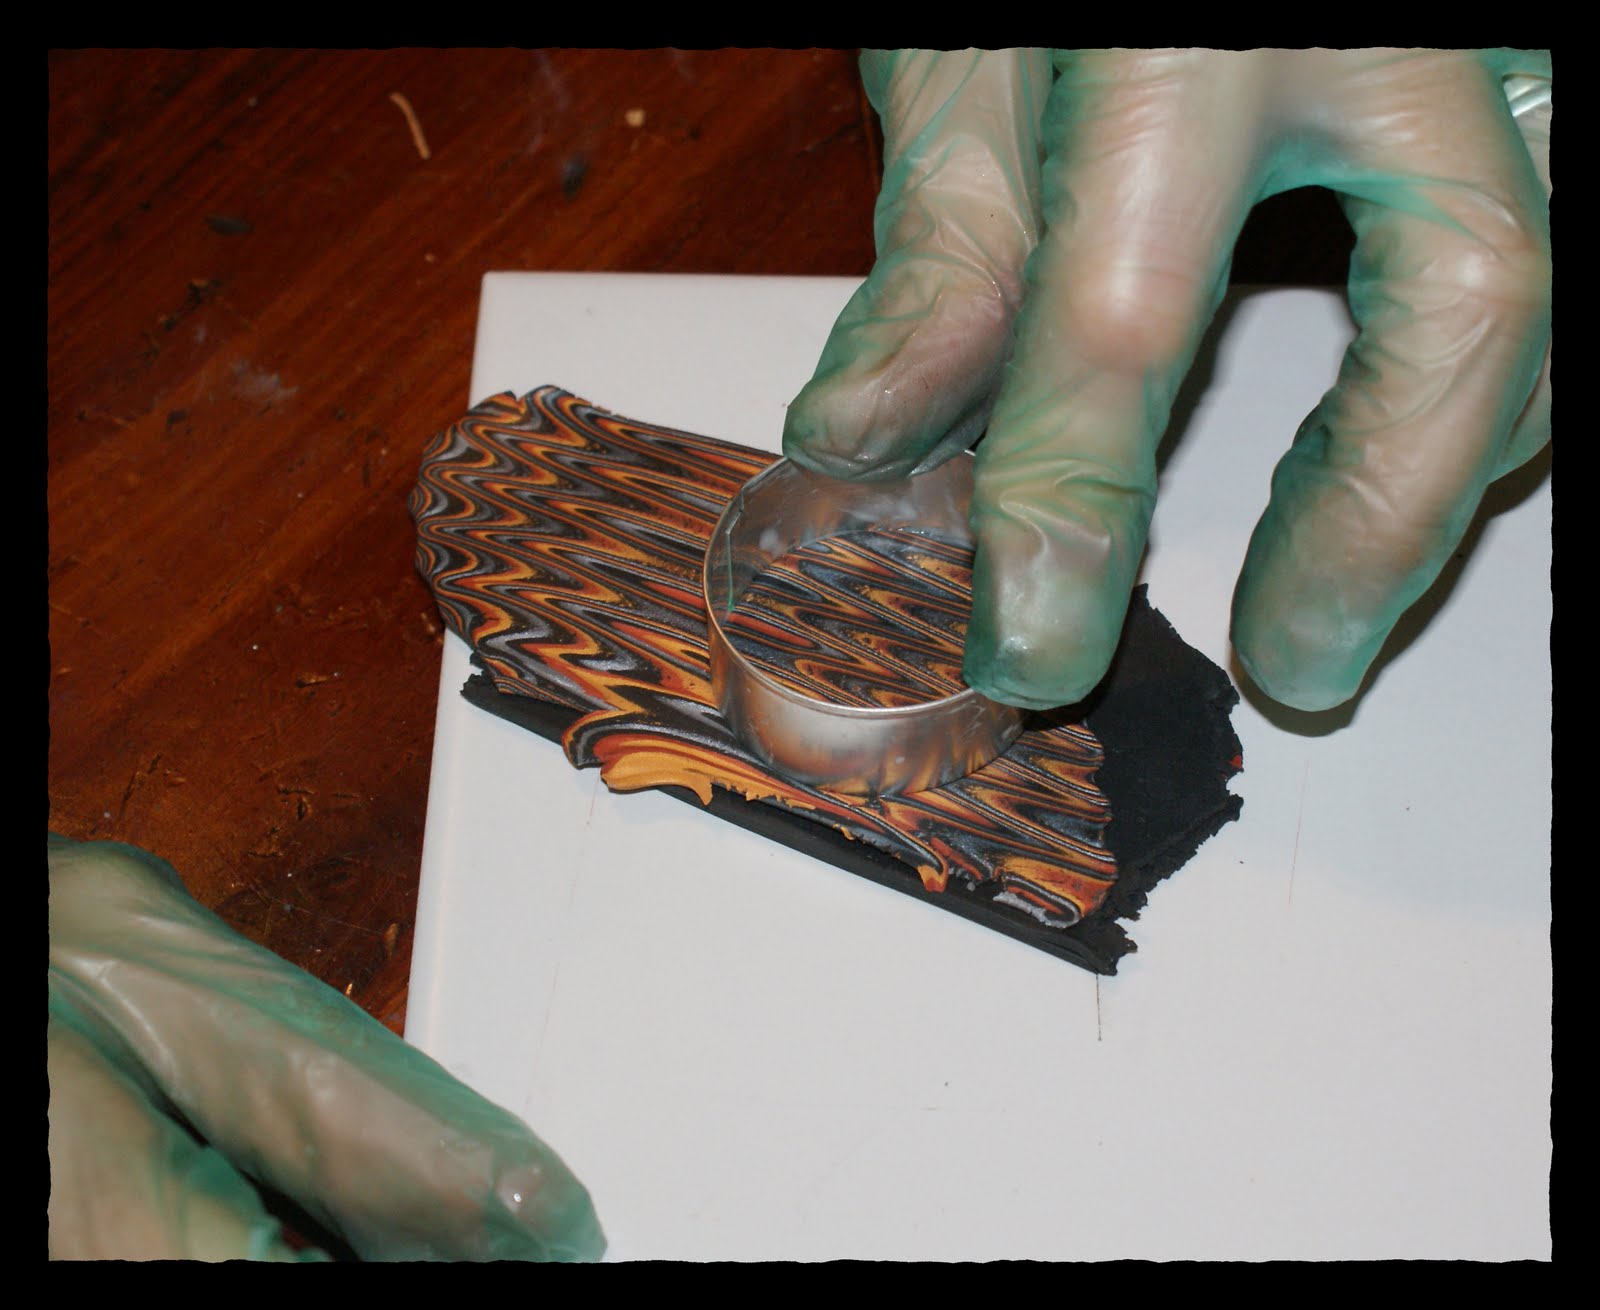
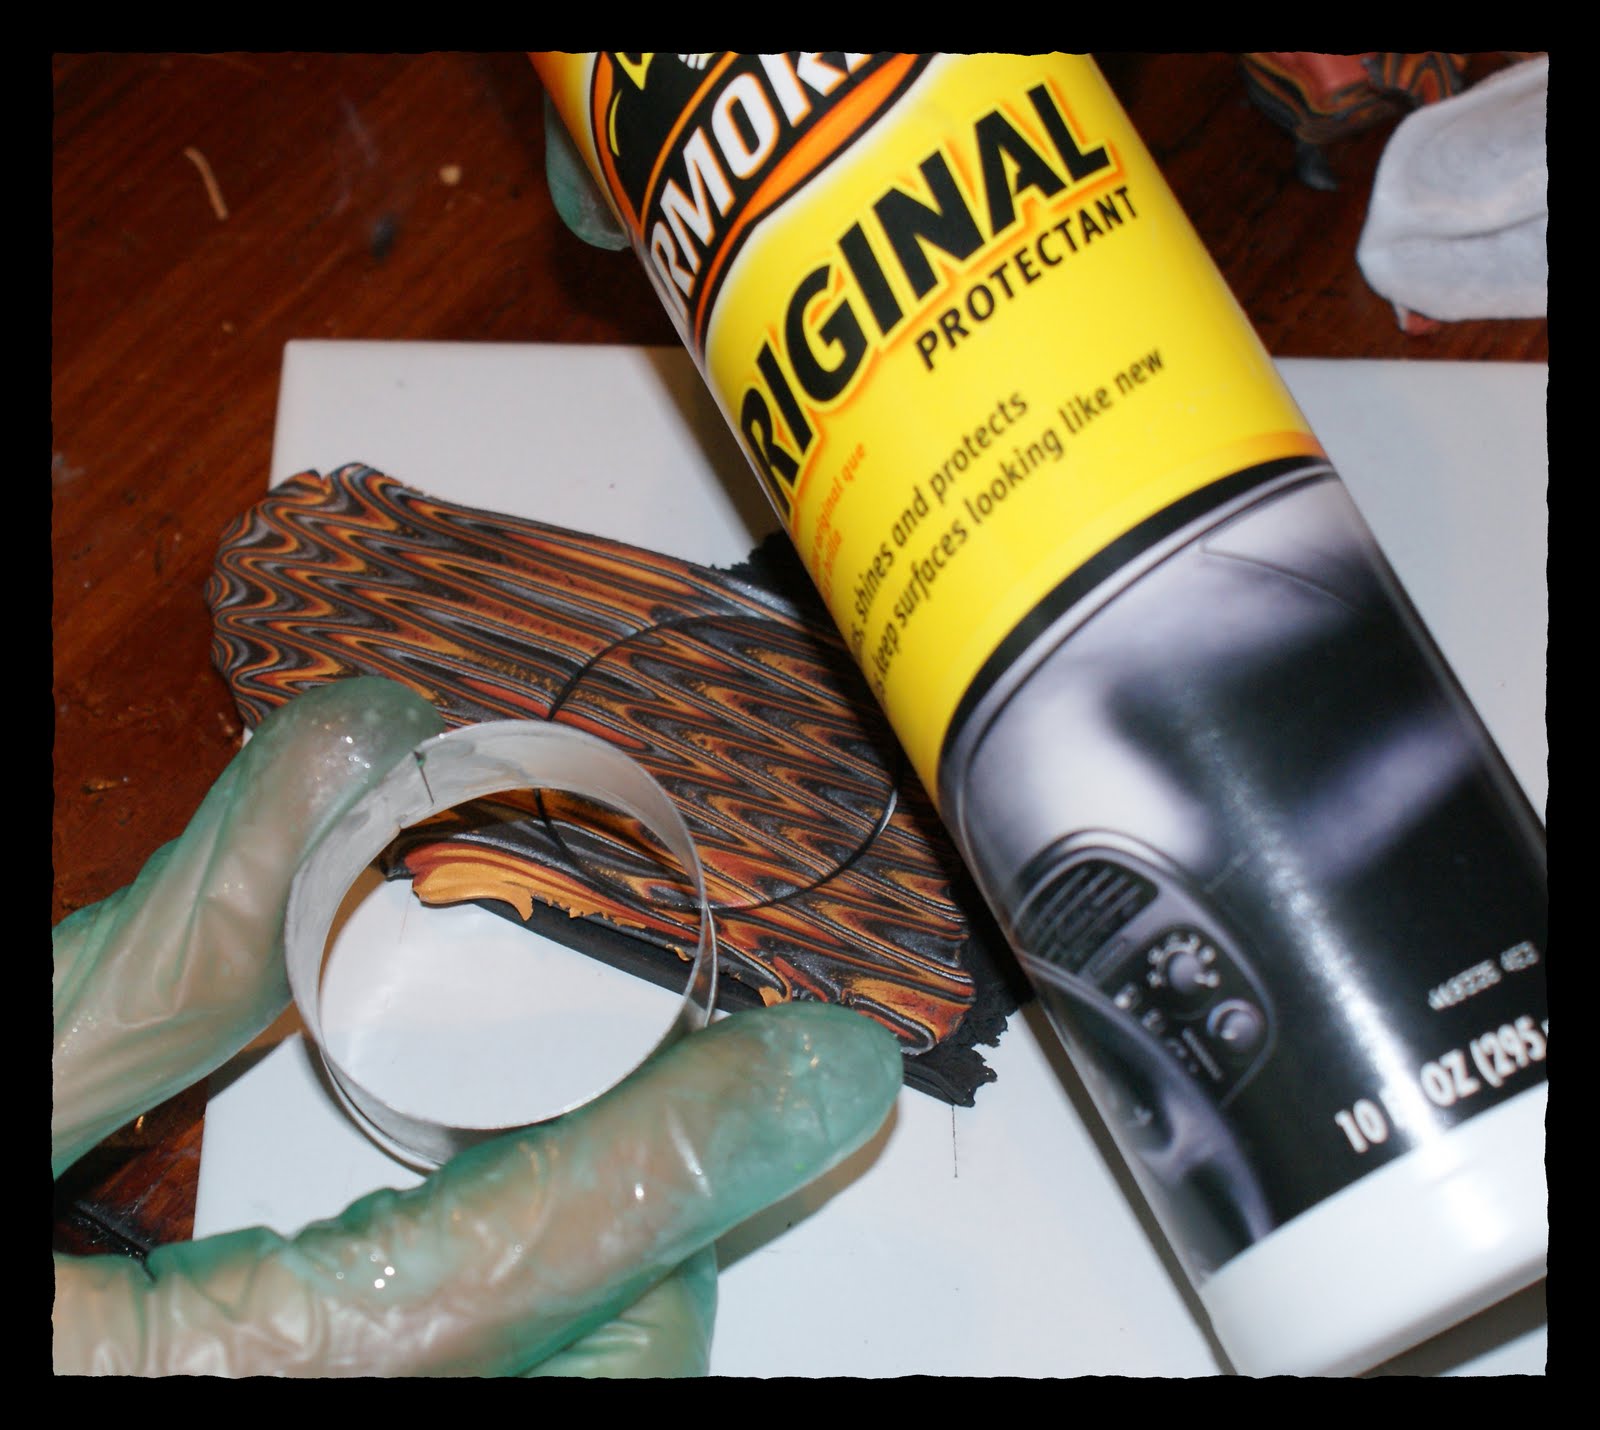
 tack. Now you have your block and are ready to cut slices to use for beads, pendants, whatever.